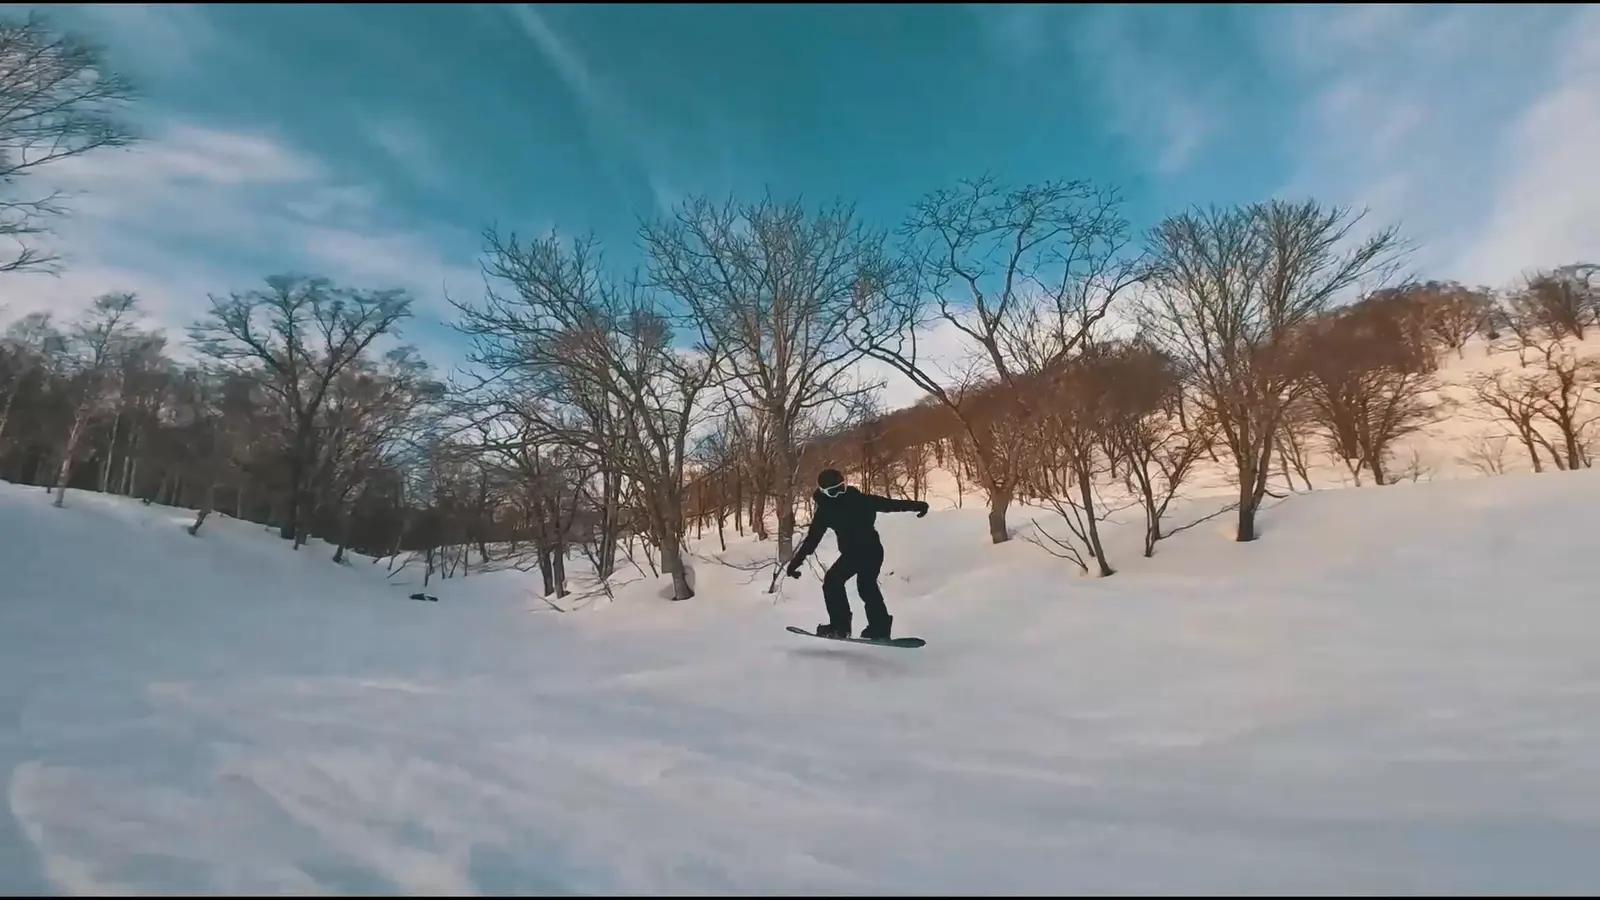
How to get better at snowboarding
Eight tips to stop falling, link your turns and start carving, plus a free way to check your own riding.
Most riders stall in the same place. You can get down a green or blue run, but you fall more than you'd like, your turns feel forced, and carving looks like something other people do. The fix is rarely more runs on autopilot. It's a few fundamentals done well, plus honest feedback on what your body is actually doing.
The tips below follow the six fundamentals that AASI snowboard instructors teach: how you move pressure along and across the board, how much pressure you build, and how you tilt, pivot and twist the board. They're in the order most riders need them. Work on one at a time. New to snowboarding? Start at tip 1. Already linking turns? Jump to tips 5 to 7.
1. Ride from a balanced, athletic stance
Everything starts here. Flex your ankles and knees so you're ready to absorb bumps, keep your weight centred between your feet, and stay tall and relaxed through your upper body. Keep your arms low and loose, roughly over the edges of the board, not flailing above your shoulders.
The classic beginner fault is sitting back on the rear foot. It feels safer because it keeps you away from the slope, but it takes control away from the front of the board, which is where turns start. Burton's coaches put it simply: to start a turn, shift your weight onto your front foot.
- Check: can you bounce gently while you slide? If not, your legs are too straight.
- Drill: on a gentle slope, ride straight for a few seconds and slowly move your hips over your front foot, then back to the middle. Feel how the board reacts.
2. Look where you want to go
Your head leads and your body follows. Look forward over your front shoulder toward where you want the turn to finish, not down at your board. Staring at your feet pulls your shoulders forward and your hips back, which is exactly the posture that catches edges.
Before every turn, pick a spot on the snow where you want to go and turn your head toward it. A useful cue: chin over your front shoulder.
3. Learn to stop and control your speed first
You can't progress on a slope you don't trust. Before anything else, learn to stop on demand on both edges:
- Heelside side-slip: face downhill in a low, balanced stance, lift your toes a little so the heel edge grips, and slide straight down. Press harder to slow down; flatten the board slightly to move.
- Toeside side-slip: the same move facing uphill, pressing through the balls of your feet.
- Falling leaf: while side-slipping, look and lean gently left, then right, so the board drifts across the hill like a falling leaf. It's the bridge between sliding and turning.
Once you can stop on either edge whenever you choose, speed stops being scary. Every later skill in this guide builds on it (Human Kinetics has a good step-by-step).
4. How to stop falling when snowboarding (and fall safely)
If you keep falling on your snowboard, look at when it happens. Most falls come from three things: sitting back so the board runs away from you, a flat board that catches an edge (tip 5), or a slope steeper than your stopping skills (tip 3). Fix the cause rather than the fall.
You will still fall sometimes, so learn to do it well. When you feel a fall coming, get low. Falling backwards, sit down and roll onto your bum; falling forwards, land on your knees and forearms. Keep your fists closed. Burton's advice is blunt: "Never attempt to catch yourself with your hands". Wrist guards and a helmet are cheap insurance (more on injury prevention).
A fall is over in a second, which makes it hard to understand from the inside. Video makes it much easier: our free AI coach detects falls in your clip and explains what led up to each one.
5. Why you keep catching an edge, and how to fix it
Catching an edge means the downhill edge of your board digs into the snow and slams you down, usually without warning. It almost always happens for one of two reasons:
- The board goes flat on a traverse or a straight run, and a small bump tips the downhill edge in.
- The downhill edge grips during the edge change, because the new edge was set before your body moved over the board.
The fix: keep the uphill edge engaged until you're ready to switch, and make the switch with your ankles, knees and hips rather than throwing your whole body. On flat, slow sections, keep a little pressure on one edge instead of riding dead flat. If the board feels grabby on flats, a shop can also detune (slightly dull) the edges near the tip and tail.
6. Turn with your lower body and link your turns
Turns come from the board, and the board answers to your feet. Tilt and twist it with your ankles, knees and hips (the AASI pivot and twist fundamentals) and keep your shoulders quiet. Swinging your arms or rotating your upper body to force the board round works on easy slopes and fails everywhere else.
Build linked turns in this order:
- Traverses across the slope on your heel edge, then on your toe edge.
- J-turns: from a shallow traverse, let the nose point slightly downhill, then finish the turn back across the hill until you stop.
- Linked C-turns: instead of stopping, flatten the board as the nose points downhill and roll smoothly onto the new edge.
Count a slow rhythm if it helps: "edge, flat, edge". Most riders who can't link turns are rushing that flat moment in the middle (The House breaks down heelside and toeside turns well).
7. How to carve on a snowboard (heelside and toeside)
Carving means riding on a tipped edge without skidding, so the board leaves a thin line in the snow instead of a wide smear. It's what makes snowboarding feel effortless at speed.
- Choose the right slope: a gentle groomer with grippy snow. Ice punishes every mistake.
- Tip more, twist less: increase the edge angle through the turn with your ankles and knees, and let the board's sidecut turn you.
- Heelside: stay tall at the start, then fold at the hips and knees as the edge bites. Don't sit down onto the tail.
- Toeside: press through the balls of your feet and drive your knees toward the slope, keeping your hips over the board.
- Check your track: stop and look back. A pencil line means you carved; a wide spray means you skidded.
Snowboard Addiction's carving guide has more drills once you're ready.
8. Film yourself and fix one thing at a time
What you feel and what you do are rarely the same. Ask a friend to film you, or set your phone up at the side of the run, then compare your clip with the cues above. Pick one thing per session, such as "front foot" or "head up", and ride a few runs with only that in mind.
For useful footage, film from the side or from behind, keep your whole body in frame, and record 10 to 60 seconds of steady riding. A phone is fine. Then run your clip through our free AI coach: it pauses at the key moments, draws arrows on your riding, explains any falls and answers follow-up questions like "why did I fall at 0:12?".
When you plateau, book a lesson with a certified instructor. Burton calls lessons "one of the most valuable things you can invest in", and an hour of expert eyes beats a week of guessing.
Take a lesson or a progression camp
Progress is fastest when someone who knows what to look for watches you ride every day. Our progression ski & snowboard camp in Yuzawa takes complete beginners to riding beginner slopes on their own, on the wide, gentle runs of Ishiuchi Maruyama, and our Japan ski & snowboard trips guide explains how the camps work.
Comparing schools and prices? Read learning to ski or snowboard in Japan and learning in Singapore. In Singapore, the 3-week snowboard beginner crew programme at Snow Monster builds the basics with a crew before your first real mountain. Already confident and dreaming of powder? Look at the all-mountain hosted experience in Niseko, Rusutsu & Kiroro, or browse all trips.
Common snowboarding mistakes (quick checklist)
- Sitting back on the rear foot. Move your hips over the front foot to start each turn.
- Straight, stiff legs. Soft ankles and knees absorb bumps; locked legs bounce off them.
- Looking at the board. Look where you want to go.
- Turning with the shoulders. Steer with your feet and knees and keep your upper body calm.
- Riding a flat board. Keep light pressure on an edge on traverses and flats.
- Catching yourself with your hands. Fall onto your bum or forearms instead.
- Going steeper too soon. Master stopping and linked turns on easy runs first.
How to get better at snowboarding without snow
You can keep improving in the off-season, at home or in the gym:
- Leg strength and balance: squats, lunges and single-leg balance work build the low, stable stance you need on the board.
- Balance board: trains the small ankle movements that tilt your edges.
- Skateboarding or surf-skating: both teach weight shifts and turning with your lower body.
- Indoor and dry slopes: great for practising stopping and linked turns before a trip.
- Your old clips: watch last season's footage and choose what to fix first.
Snowboarding FAQs
Quick answers to what riders ask most.
How long does it take to learn snowboarding?
With good instruction, most people can link basic turns on easy runs after three to five days on snow. Riding comfortably on blue runs usually takes one to two weeks of riding days, and carving well takes longer. The first two days are the hardest; it gets easier quickly after that.
Is snowboarding harder than skiing?
Snowboarding is usually harder for the first few days, because you learn to balance and stop on a single board and you fall more. Many people then reach a confident intermediate level quicker than skiers do. Skiing is easier to start but takes longer to refine. Pick the one that excites you more, and see our skiing tips if you're torn.
Why do I keep falling on my snowboard?
The usual causes are sitting back on the rear foot, letting the board go flat so the downhill edge catches, and riding terrain steeper than your stopping skills. Film a few runs to see which it is: our free AI coach detects falls in your video and explains what led up to them.
What does catching an edge mean?
It's when the downhill edge of your board digs into the snow and throws you downhill, often onto your back or face. It happens on flat sections or during the edge change. Keep pressure on the uphill edge until you're ready to switch, and switch with your ankles and knees.
How do I stop on a snowboard?
Turn the board across the slope and press the uphill edge into the snow. On your heel edge, lift your toes and sit slightly into your heels; on your toe edge, press through the balls of your feet. Practise the side-slip and the falling leaf on a gentle slope until you can stop on both edges.
How do I get better at snowboarding without lessons, or at home?
Ride with a plan: one cue per session, easy terrain for new skills, and video of your riding so you can see what you're really doing. Off the snow, build leg strength and balance and try a balance board or surf-skate. A free tool like our AI coach gives you a starting point, and an occasional lesson stops bad habits from setting in.
How do I film myself snowboarding?
Ask a friend to film from the side or from behind, a few metres away, with your whole body in frame. Hold the phone steady, film 10 to 60 seconds of normal riding and avoid zooming in. Daylight and a plain background help.
Keep going
 Free AI ski & snowboard coach Upload a clip and get coaching drawn on your own video. →
 How to get better at skiing Eight tips to get out of the back seat and ski parallel. → Japan ski & snowboard trips How our Japan camps and powder trips work. → Progression camp in Yuzawa From first turns to riding beginner slopes on your own. →
Sources
Instruction in this guide follows these coaching resources:
- PSIA-AASI, 32 Degrees: snowboarding fundamentals
- Burton: Learn to snowboard
- Burton: Beginner snowboarding tips
- Burton: Snowboard injury prevention
- Burton: How to detune a snowboard
- Human Kinetics: Learning how to stop on the snowboard
- Snowboard Addiction: How to carve on a snowboard
- The House: Turning heelside and toeside
- Twelve Boards: Snowboard troubleshooting
- Snowboarding Profiles: Snowboard progression plan
- Google Cloud: U.S. Ski & Snowboard AI athlete tool (Feb 2026)